Configure library settings
Each library has its own settings page for its name, types, loan policy, and reservation window. Library settings are edited by an Org Admin — with two exceptions: the Notifications and Affiliate codes tabs, which that library’s own Library Owner can also edit.
Where library settings live
Open the library and choose Settings. The page has five tabs: General, Users, Notifications, Look Book, and Affiliate codes.
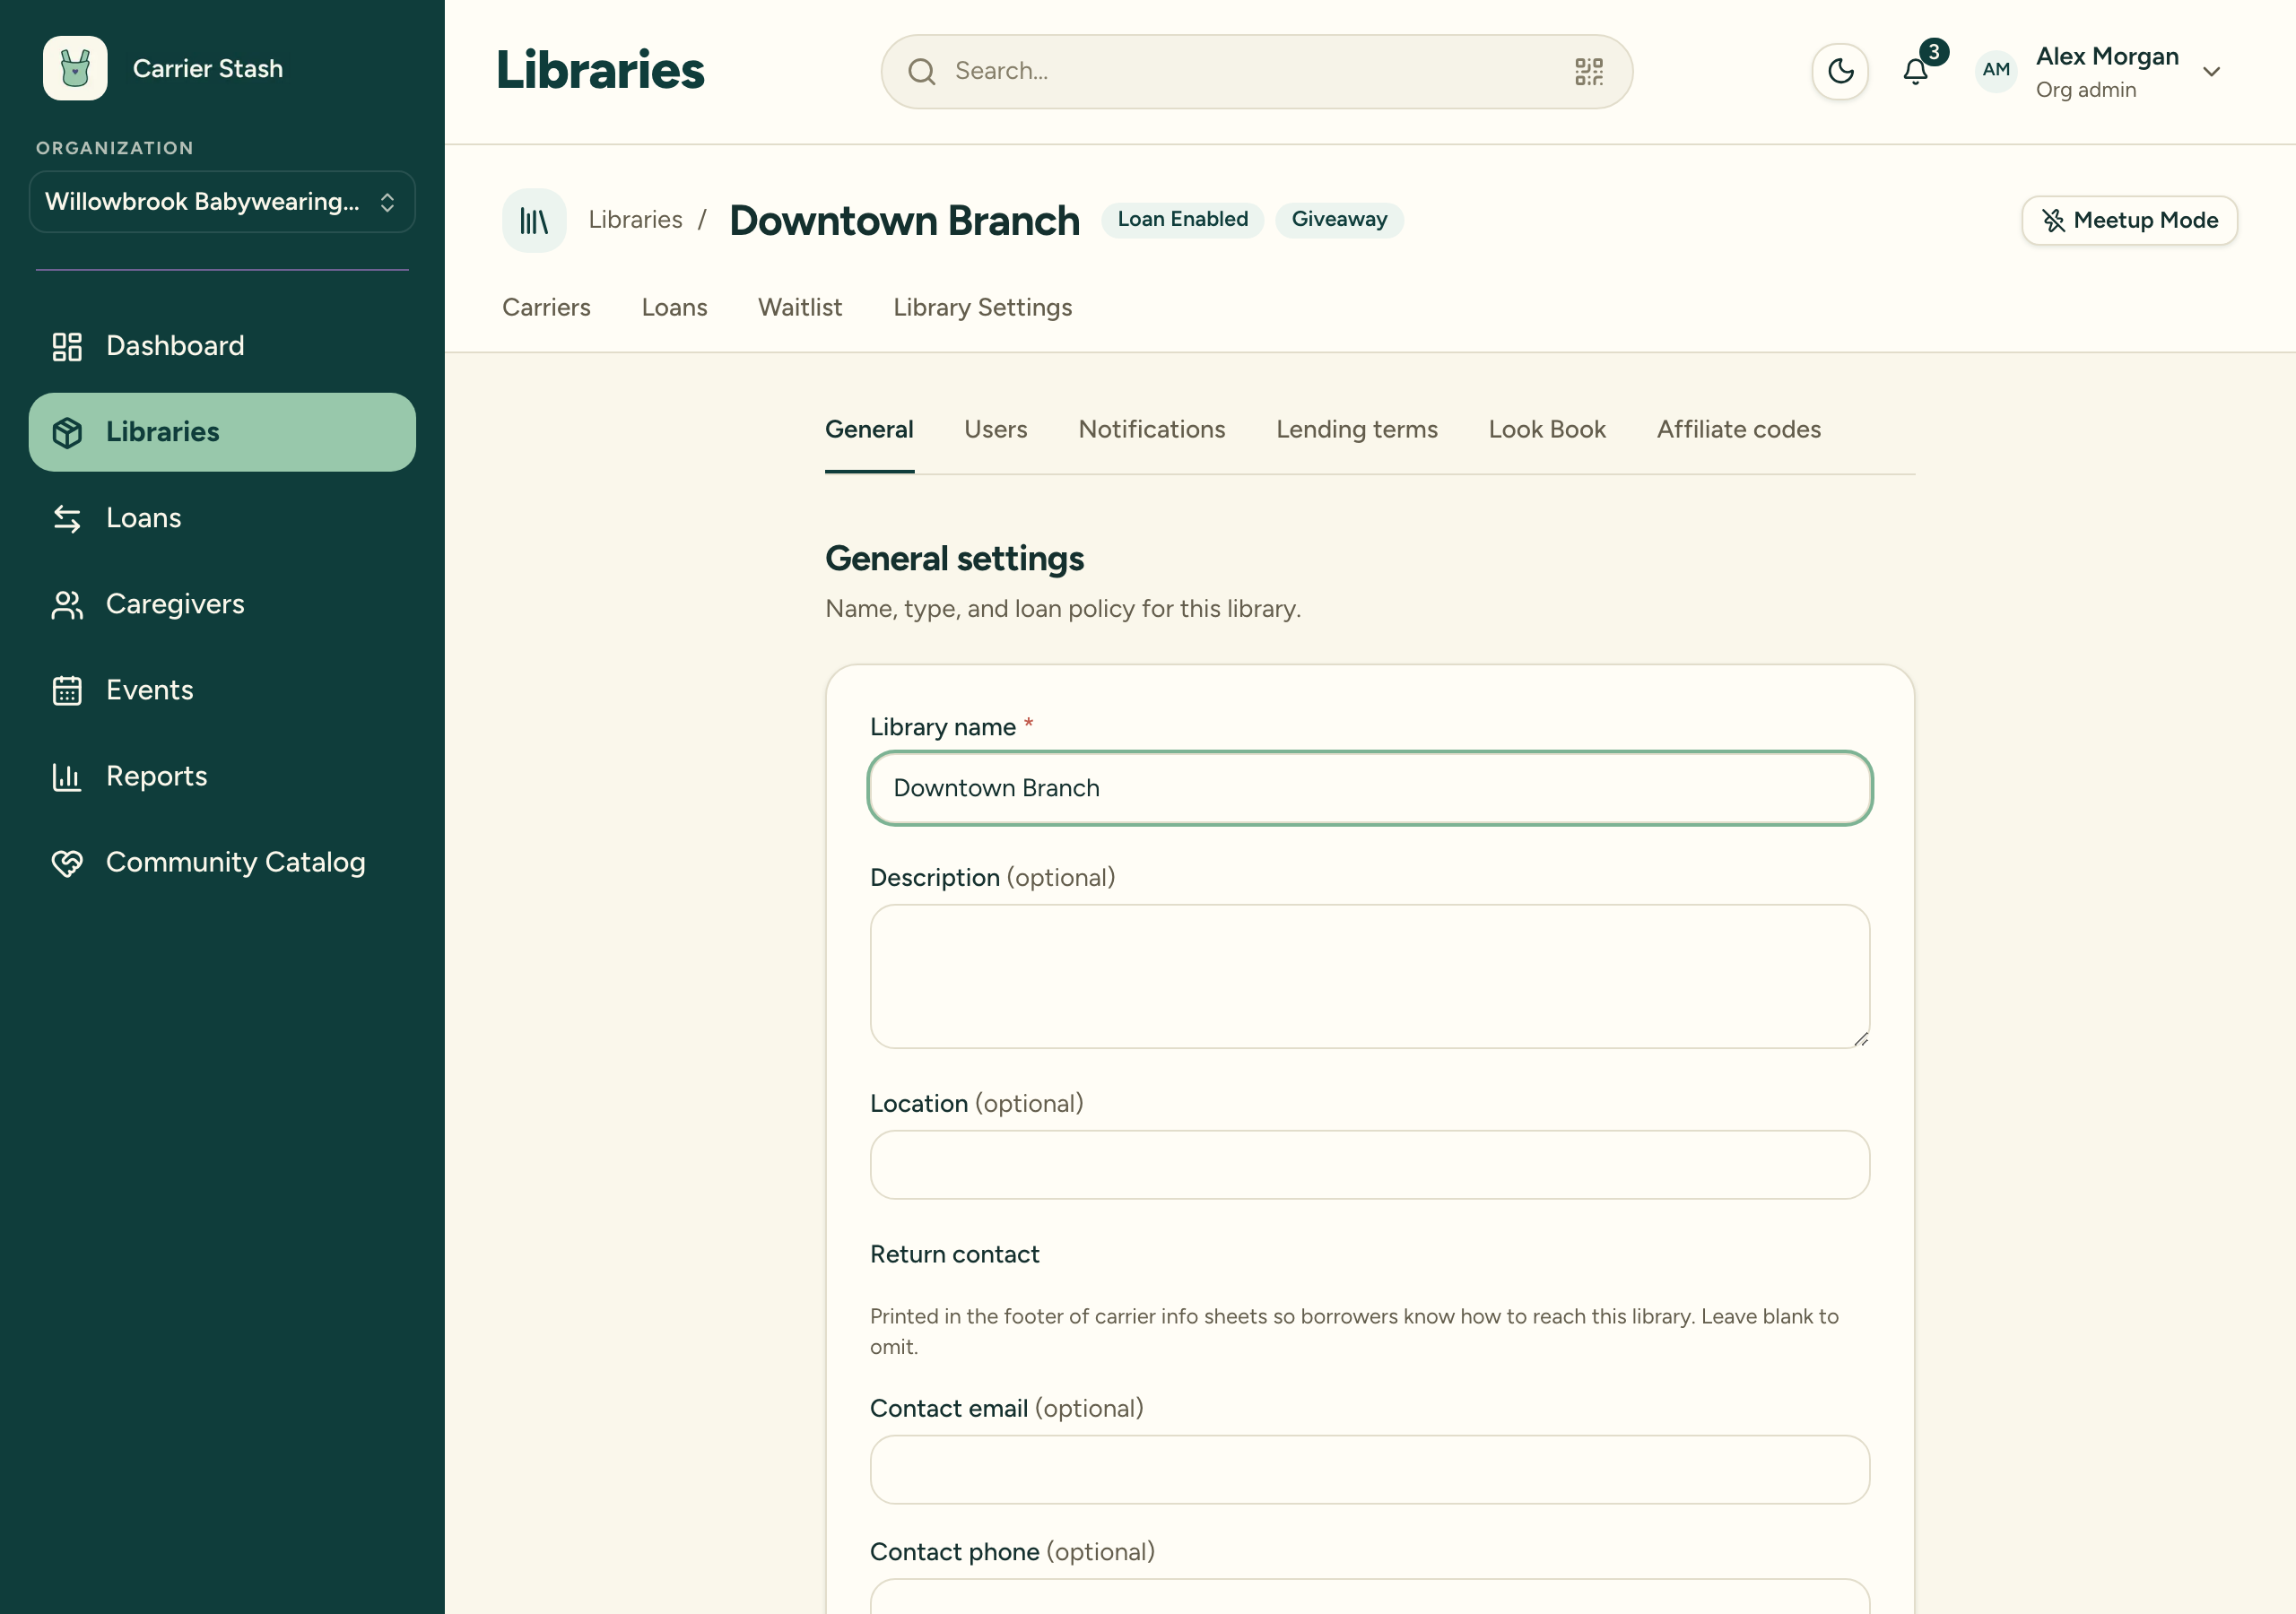
General settings
| Setting | What it does |
|---|---|
| Library name (required) | The name shown everywhere in the app. |
| Description and Location (optional) | A short blurb and where the library operates. |
| Return contact (optional email and phone) | Printed in the footer of carrier info sheets so borrowers know how to reach this library. Leave blank to omit. |
| Library type | Three checkboxes: Education Only (carriers are for demonstration, not loan), Loan Enabled (carriers may be checked out), and Giveaway-Enabled (some carriers are designated giveaway stock). These aren’t mutually exclusive — a library can be more than one at once. |
| Loan period (days) | The default loan length for check-outs in this library. The field pre-fills with your organization’s default loan period (30 days unless your organization has changed it), and leaving it blank keeps inheriting that default. |
| Carrier cap (optional) | An internal ceiling on how many carriers this library holds — an allocation tool for organizations splitting inventory across libraries, separate from your plan’s limits. |
| Hold expiry (days) | How long a reservation holds a carrier before it expires. Starts at 14 days. See Reserve a carrier. |
The General tab also links to the library’s archived carriers, and holds the Danger zone — deleting the library itself. A library that still contains carriers can’t be deleted.
The Users tab
Lists who’s assigned to this library and their role (Library Owner or User). Only an Org Admin can open this tab and make changes — Library Owners don’t manage their own library’s assignments. It writes the same records as the organization’s Users page; see Manage team access.
The Notifications tab
The one part of library settings a Library Owner can edit (Org Admins can too). Here you can customize the email templates for this library and switch notification types on or off, overriding the organization’s defaults — or switch back to Use organization default at any time. See Email notifications.
The Affiliate codes tab
The other tab a Library Owner can edit (Org Admins can too). If your library has an affiliate arrangement with a carrier brand, this is where you record the promo code — it then appears on your library’s public Look Book next to that brand’s carriers, linking out to the brand’s shop.
Carrier Stash never handles any payment. It stores your code and displays it; whatever you earn is settled between you and the brand, on the brand’s own terms.
Everything here is opt-in. Nothing is published until you enter a code, and clearing a code removes it.
Partner brands
One section, two sources:
| Source | What it is |
|---|---|
| From the Carrier Stash catalog | Brands we run an affiliate program with. Each shows the program name and, where we’ve published them, Visit shop, Program details, and How to sign up links — enough to join the program before you have a code at all. Enter your Promo code and save. This list only shows brands with an affiliate program, so it may be empty. |
| Brands you’ve added | Affiliate arrangements you made yourself, with shops outside our catalog. Give the program a name, the brand this code is for (match it exactly as it appears on your carriers), optional website / details / sign-up links, and your code. |
A brand you add yourself stays private until you tick Show this code on my public Look Book — that box is off by default, and each program’s card is badged Private or On your Look Book so you can see which is which at a glance. To publish, a program needs all three of the brand name, a code, and that box ticked.
Codes only ever appear on a public Look Book. If this library’s Look Book isn’t published, saving a code changes nothing anyone outside your organization can see — set that up on the Look Book tab first.
If a brand is already one of ours
If you add your own program for a brand Carrier Stash already runs a program with, your code stays off the public Look Book and the page tells you so — use that brand’s row under From the Carrier Stash catalog instead. This is checked each time the Look Book is read, so if that changes later your own code starts showing on its own.
Overriding the code for one carrier
A single carrier can show a different code from the rest of its brand. Open the carrier and use the Promo code card — it outranks both the brand code and your own program’s code for that carrier only. Leave it blank to fall back to whichever applies. Like the rest of carrier management, that card is Library Owner and Org Admin only, and it’s hidden on archived carriers (the Look Book excludes them anyway).
Settings that live on the organization, not the library
A few things people look for here are organization-wide settings, edited by an Org Admin on the organization’s Settings page:
- Default loan period — the org-wide default that libraries inherit when their own loan period is blank.
- Waiver wording — your organization’s standard waiver text, shown when staff record a waiver. There is no per-library waiver.
- Access mode — org-wide or per-library visibility. See Libraries and access modes.
There is no “require a fit check” setting
Fit checks are always optional in the app — no library setting makes one required before check-out, and check-out never blocks on a fit check. If your library requires fit checks as its own policy, that’s enforced by your people, not by the software; record the fit check so you have the history.