Add flags
Flag a caregiver’s record to alert your team to a lending concern. Flags are visible to everyone who can see the caregiver’s record — in per-library access mode that’s the people tied to the caregiver’s libraries; in org-wide mode that’s everyone in the organization. Setting, amending, and clearing flags is limited to Library Owners and Org Admins — Users see the flags but can’t change them.
Most flags set themselves: a Damage history flag is added automatically when damage is recorded at check-in, and an Overdue history flag is added automatically when a loan is returned past its due date. Add one manually to record history from before you started using Carrier Stash, or to flag a caregiver Do Not Lend.
Steps
1. Open the caregiver record
Find the caregiver on the Caregivers screen and open their record. The Flags section lists any active flags.
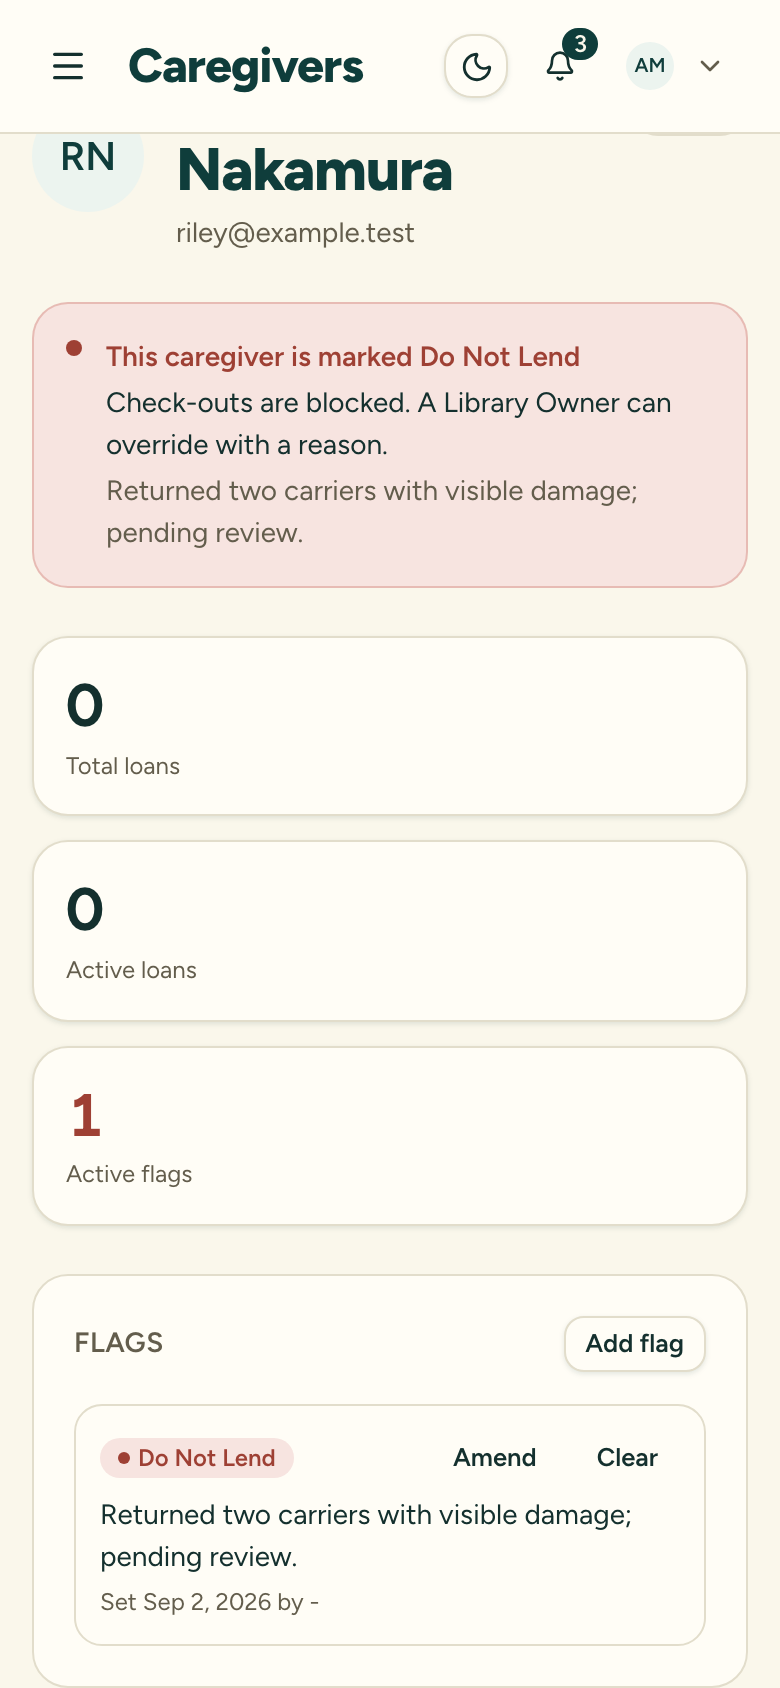
2. Add a flag
Choose Add flag to open the Add a flag dialog.
3. Choose the flag type
Pick from Do Not Lend, Damage history, Overdue history, or See note. See note means “read this caregiver’s notes before lending” — use it to point staff at context you’ve recorded in the record’s notes.
4. Enter a reason
A reason is required when flagging Do Not Lend, and optional for the other types. Keep sensitive personal information out of this field where you can.
5. Set the flag
Choose Set flag. It appears in the Flags section, stamped with who set it and when.
What flagging Do Not Lend does
A Do Not Lend flag gates check-out. When someone tries to lend to a caregiver flagged Do Not Lend, Users are blocked and prompted to contact a Library Owner; Library Owners and Org Admins can override with a required reason, which is logged. See What the Do Not Lend gate does.
The Do Not Lend gate is enforced at check-out everywhere in the organization: it fires for a caregiver flagged Do Not Lend regardless of whether the person doing the check-out can see that caregiver’s full record. This is deliberate — because check-out can find any caregiver in the org by name, the block has to apply org-wide, not just where the record is visible.
Amend or clear a flag
From an active flag you can Amend it — reword the reason — or Clear it. Both require a reason and both are logged. A cleared flag isn’t deleted: it moves to the record’s cleared-flags history with your reason, so the original event is preserved.