Add your first carrier
Add a babywearing carrier to your library’s inventory so it can be lent to caregivers. When you’re done, the carrier is recorded in the library with a permanent ID and a status of Available.
You can add a carrier from:
- The Add carrier action on the Library screen
- Bulk import, if you’re adding many carriers at once
Steps
1. Open the add-carrier form
Use Add carrier on the Library screen.
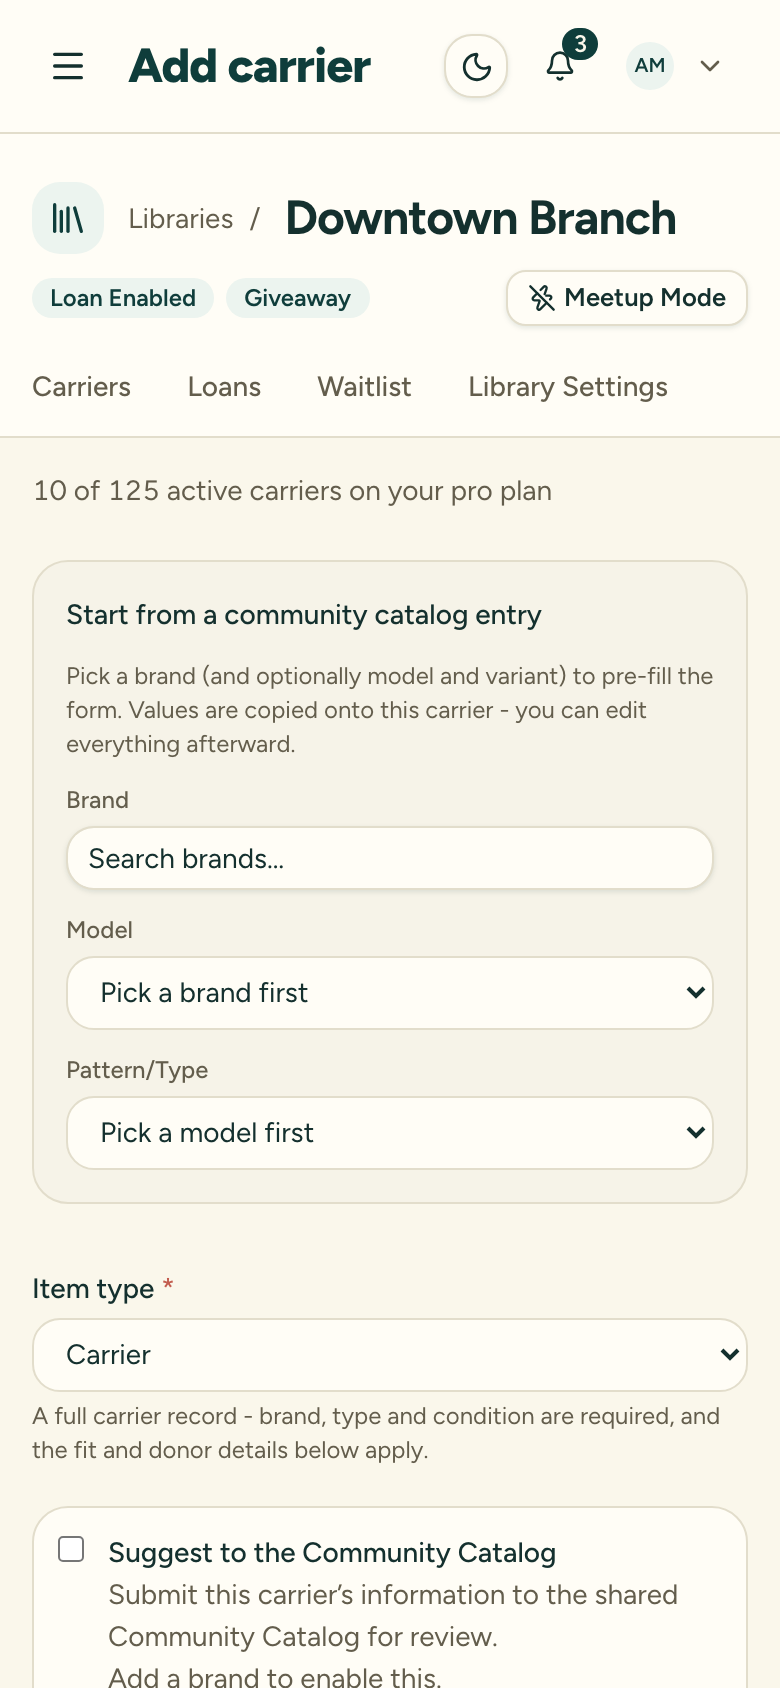 If your organization uses the shared carrier catalog, you can start from a catalog entry to pre-fill the brand, model, and type.
2. Record the carrier details
Enter the carrier’s details:
- Brand and model
- Carrier type — for example woven wrap, stretchy wrap, ring sling, soft-structured carrier, meh dai, half buckle, or onbuhimo
- Condition — one of New, Like new, Good, Fair, or Poor
- The library it belongs to
Optional fields include a variant, weight range, and fabric notes.
3. Set loan eligibility
Mark whether the carrier is loanable. Loan eligibility defaults to on. If you turn it off, the carrier is education-only and can’t be checked out — even in a Loan-enabled library.
4. Save the carrier
Save to add the carrier. It’s assigned an ID automatically.
After adding your carrier
The carrier enters your inventory with a status of Available and a permanent carrier ID, shown as a zero-padded display number that’s unique within your organization. This ID never changes — even if the carrier is later transferred to another library in the same organization — so printed labels and QR codes stay valid.
The carrier now counts toward your tier’s active-carrier limit. Archived carriers don’t count. See Understand tiers and carrier limits.