Add a carrier
Add a new babywearing carrier to your library’s inventory. When you’re done, the carrier is saved with an auto-assigned Carrier ID and starts out Available.
Only a Library Owner (of that library) or an Org Admin can add carriers. You can start from:
- The Add carrier button on the Carriers screen
- The library’s Carriers list when it’s empty
Steps
1. Open the add-carrier form
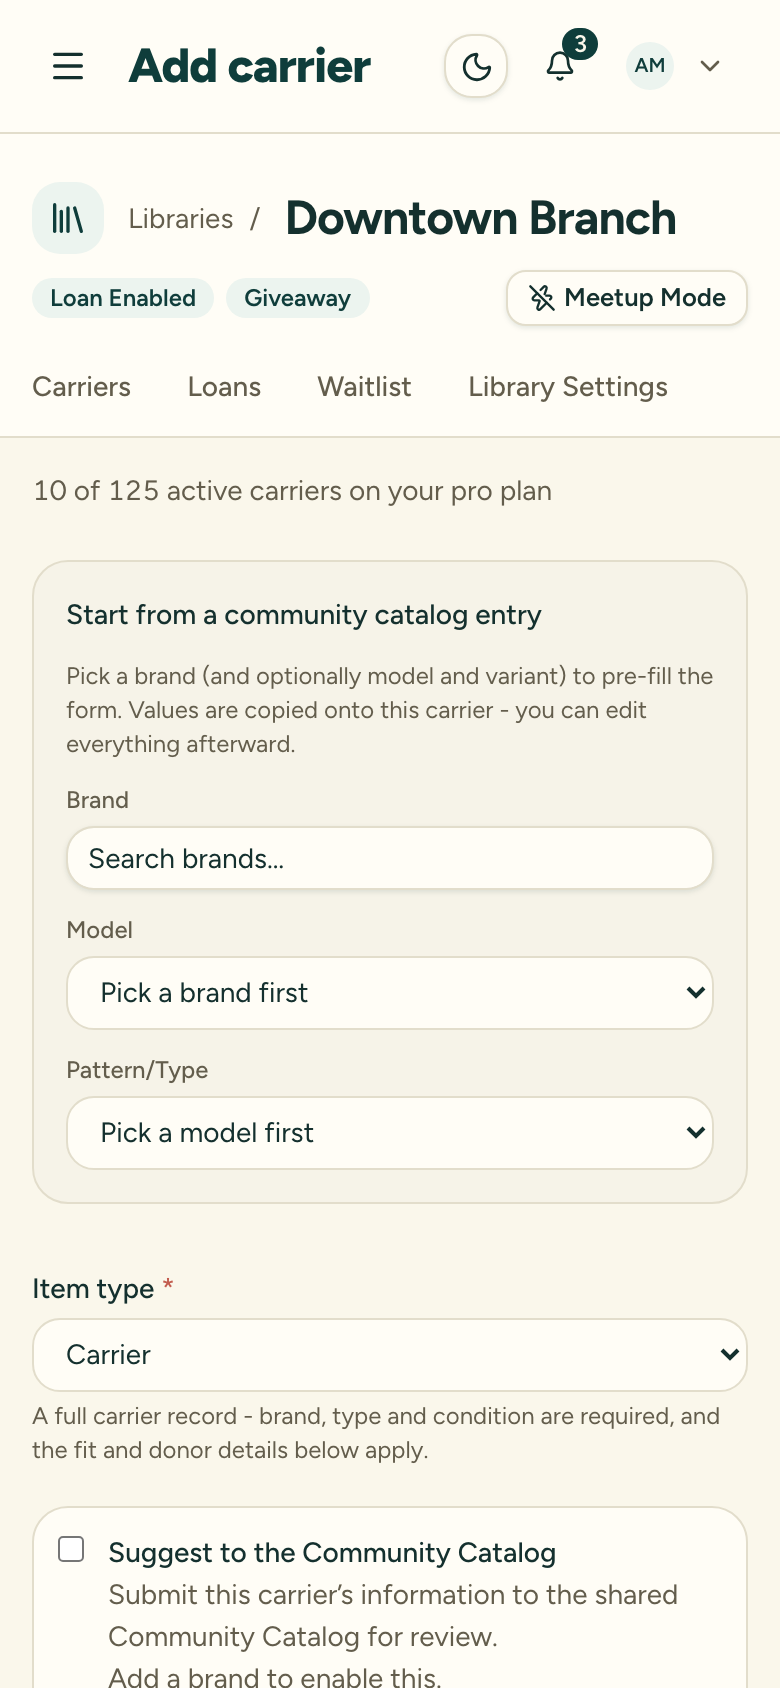
From the Carriers screen, choose Add carrier. The form opens for the current library. A counter near the title shows how many active carriers you have against your plan’s limit — if you’re already at the limit, you’ll need to archive a carrier or upgrade before you can add another.
2. Start from the catalog (optional)
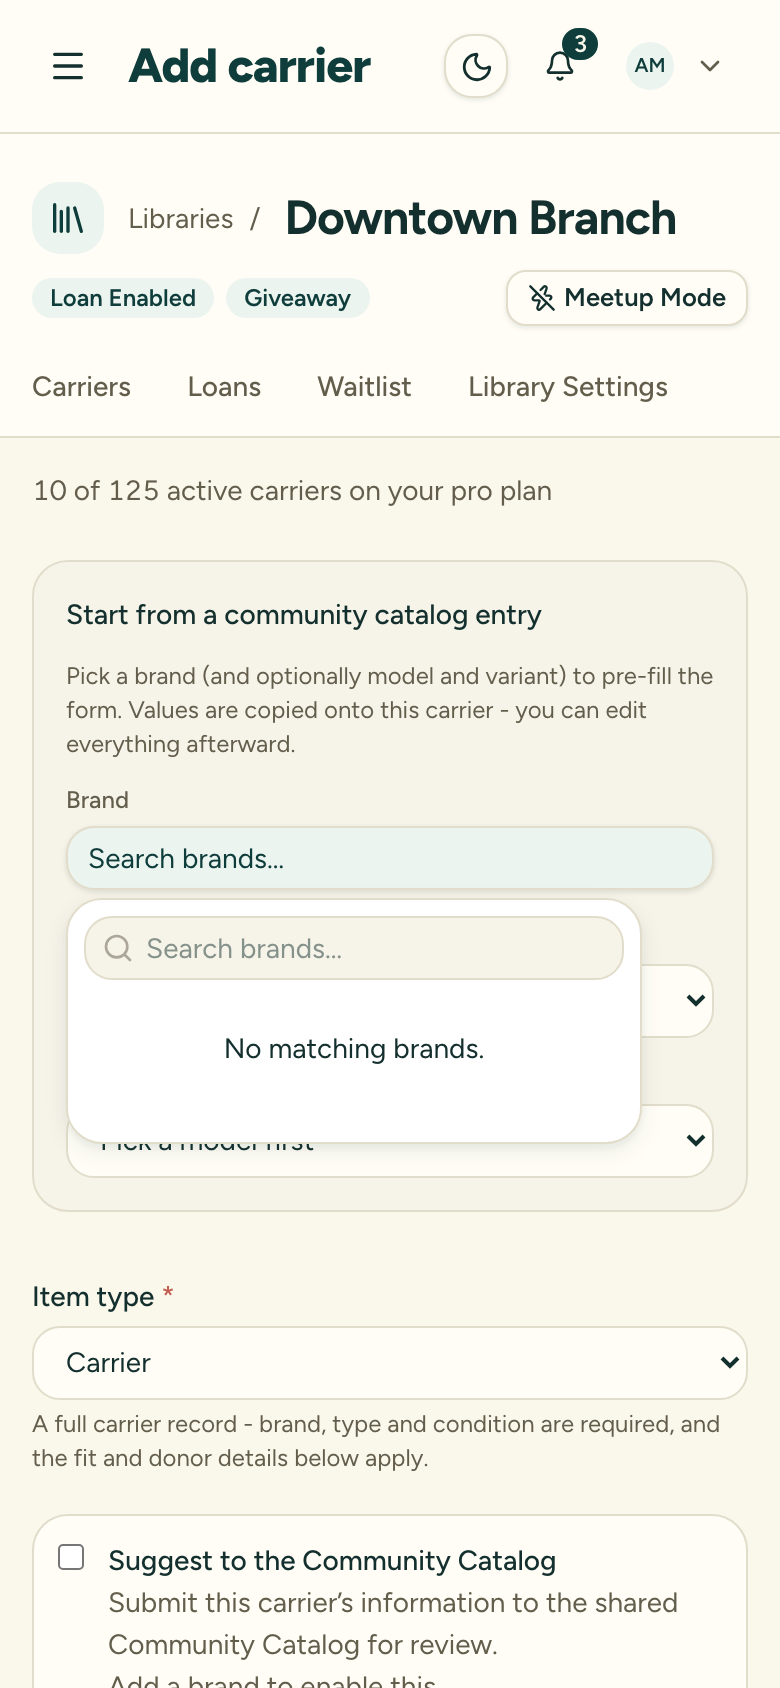
At the top of the form, you can pick a brand, and optionally a model and variant, from the catalog to pre-fill the form. The values are copied onto this carrier — nothing stays linked, so you can edit everything afterward. See Pick brand, model, and variant from the catalog.
You can also skip the catalog entirely and type the details in by hand.
3. Fill in the required fields
Every carrier needs:
- Brand
- Model
- Carrier type — one of Woven Wrap, Stretchy Wrap, Ring Sling, Soft Structured Carrier (SSC), Meh Dai / Mei Tai, Half Buckle, Onbuhimo, Water Carrier, Carrier Accessories, or Other
- Condition — New, Like New, Good, Fair, or Poor
The carrier is added to the current library, and its Carrier ID is generated automatically on save.
4. Set loan eligibility
Loan eligible is on by default. Uncheck it for education-only carriers that can never be checked out, even in a loan-enabled library. In an Education Only library this is forced off and locked.
You can also mark a carrier Giveaway eligible to designate it as giveaway stock — this is what lets you later give the carrier away.
5. Add optional details
Depending on the carrier type, additional fields appear — size or length, minimum and maximum age and weight ratings, fabric, pattern or color notes, certifications, sizing and fit, carry positions, and construction. All are optional and editable later.
6. Add a main inventory image (optional)
Upload one photo as the carrier’s main inventory image (JPEG, PNG, or WebP, up to 5 MB). It shows in inventory views and is kept through archiving. You can replace it later.
7. Record donor information (optional)
If the carrier was donated, record the donor name, donation type (Monetary or Physical), any restrictions or directions, the received condition, and the date donated.
8. Save
Choose Add carrier. The carrier is created Available and appears in the library’s inventory.
After adding
The carrier is now in your library’s inventory as Available, with its own Carrier ID shown on the detail page. From there you can print a label and QR code, edit details, change its status, or check it out.
Marking a carrier “For sale” isn’t part of this form — it’s a toggle in the ⋯ menu on the carrier’s detail page. Carriers flagged for sale can be pulled as their own CSV from the Export page.
The Carrier ID never changes — including if the carrier later transfers to another library in your organization — so any label you print stays valid.
Adding equipment instead
If you switch Item type to Equipment (folding tables, signage, inserts, demo dolls), the form simplifies to a name and condition. Equipment is never loan eligible and does not count against your carrier limit.