Set up your first library
Create a library inside your organization where carriers are stored and lent to caregivers. A library is where inventory lives and where loans happen — an organization can have several. When you’re done, you’ll have a library ready to hold its first carrier.
You can create a library from:
- The library switcher on the Library screen — choose New library
- The Libraries list in your organization
Steps
1. Open the new-library form
On the Library screen, open the library switcher and choose New library.
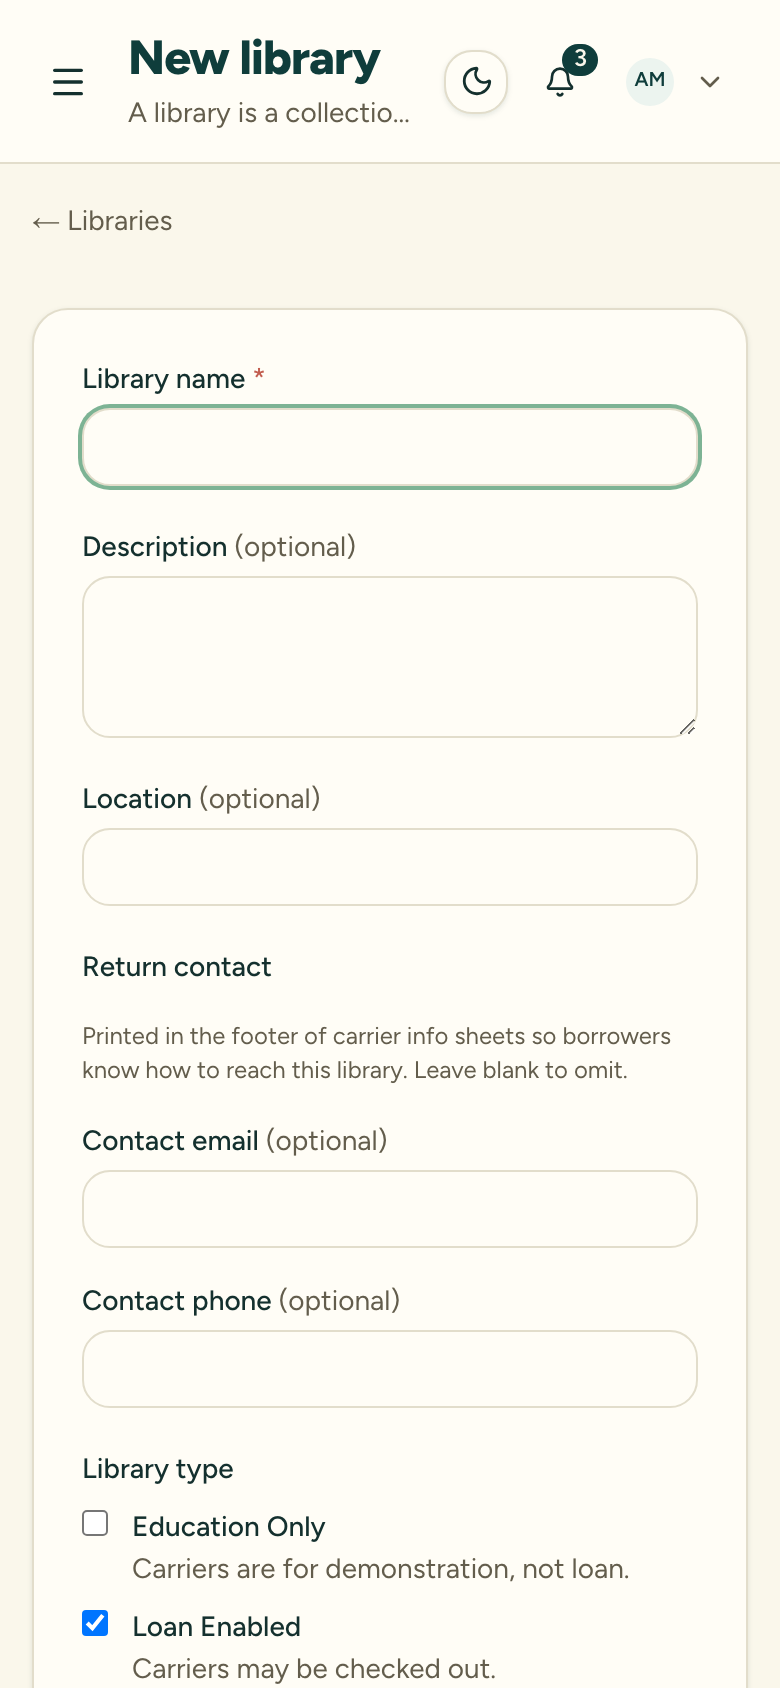
2. Name the library
Give the library a name. A description and location are optional — add a location if your organization runs libraries in more than one place.
3. Set the default loan length
Set the default loan length for carriers checked out from this library. This pre-fills the due date at check-out and can be edited on any individual loan. It defaults to the organization’s default loan period.
4. Choose which library types apply
Select the types that describe this library. They’re not mutually exclusive — a library can be more than one:
- Loan-enabled — carriers can be checked out to caregivers
- Education only — carriers are for demonstration and fit checks, not for loan
- Giveaway-enabled — some carriers are designated as giveaway stock
A carrier’s own loan-eligibility flag can still override this. An education-only carrier can’t be checked out even in a Loan-enabled library.
5. Create the library
Confirm with Create library. It becomes the active library in the switcher.
After setting up your library
The library appears in the switcher and is ready for inventory. Add carriers to start building the library, then invite team members and assign them to it so they can manage loans.
Your subscription tier caps how many libraries and active carriers you can have. If you’re at the limit, add-carrier and add-library actions are blocked until you’re back under it or upgrade.