Check out a carrier
Lend a carrier to a caregiver so they can borrow it home. When you’re done, the carrier moves from Available to On loan and a loan record is created. Any assigned User (volunteer), Library Owner, or Org Admin can check a carrier out.
You can start a check-out from any of these places:
- The Check out a carrier action on the dashboard
- The Check out button on the Loans screen
- The Check out button on a carrier’s detail page (only shown when the carrier is Available)
Steps
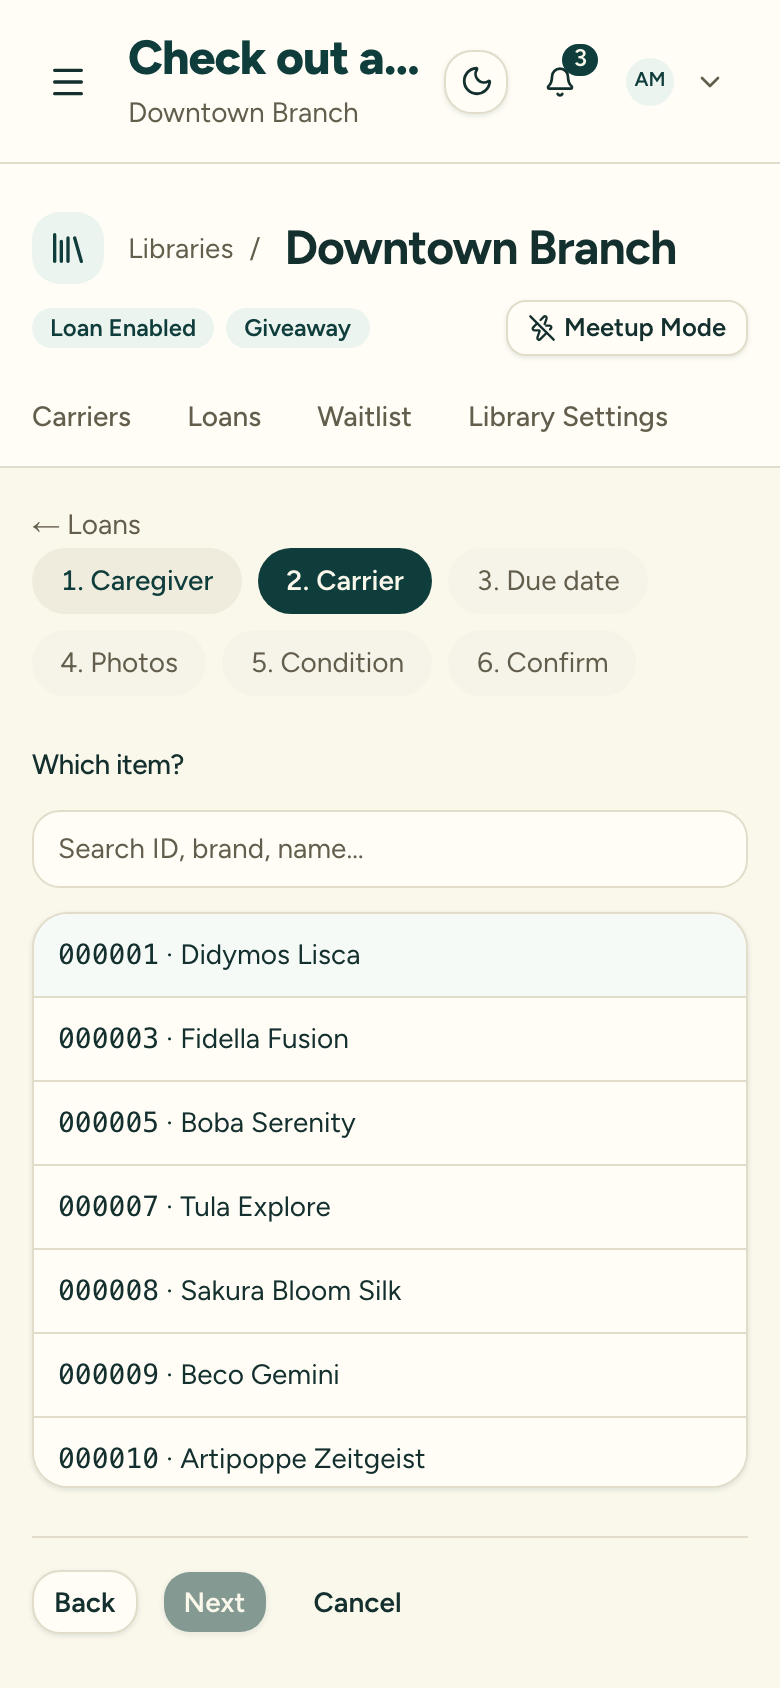
1. Select the carrier
In the check-out panel, choose a carrier that is currently Available in your library. If your labels have QR codes, you can scan the carrier’s QR code to select it directly.
2. Find or add the caregiver
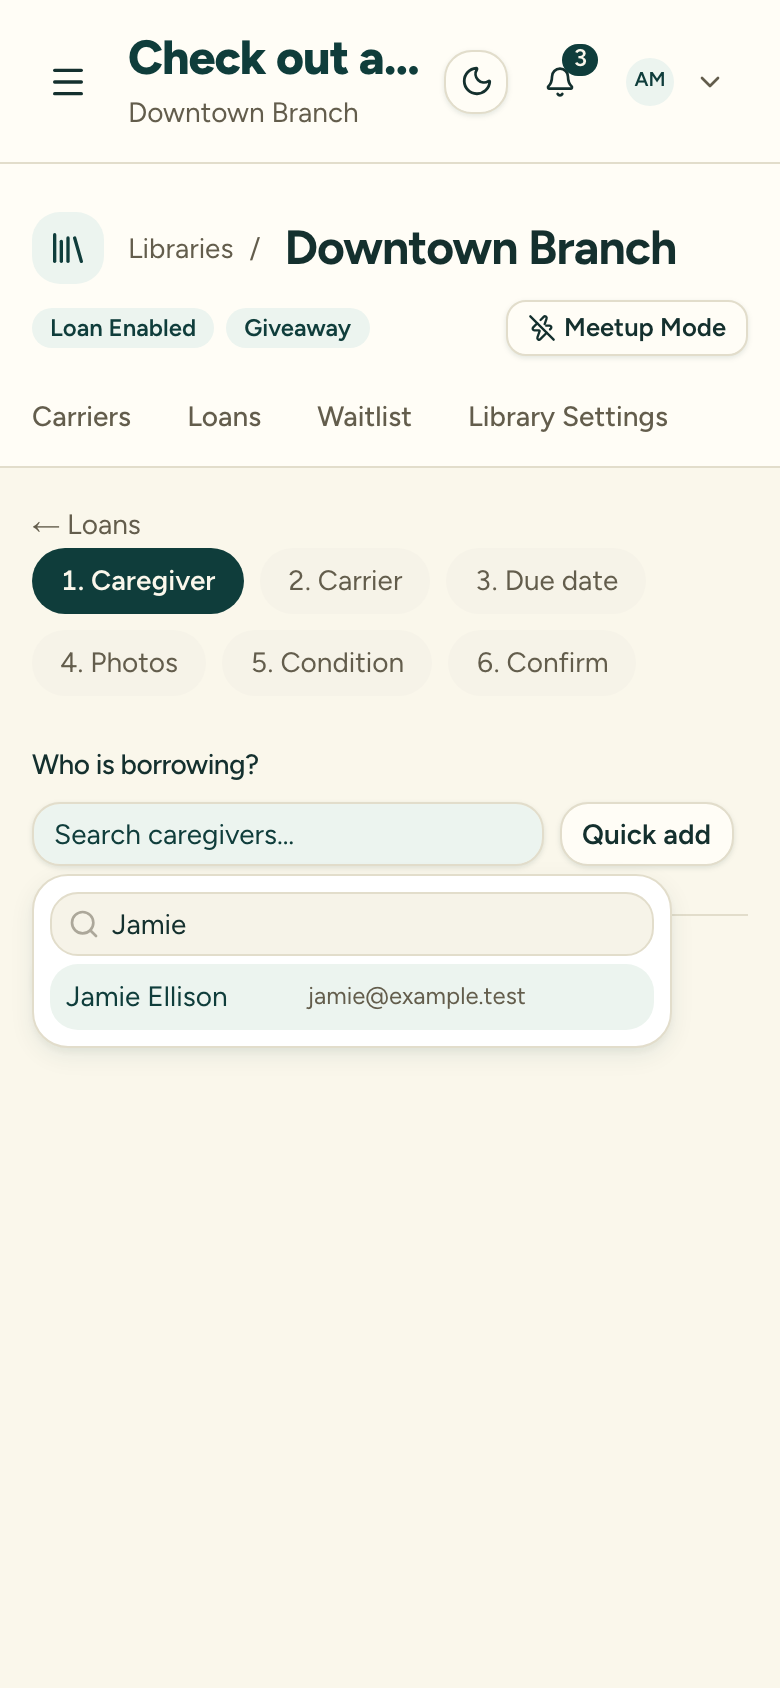
Search by name for an existing caregiver. If this is someone new, you can quick-create them on the spot — only a first and last name are required.
3. Set the dates
The check-out date defaults to today. The due date pre-fills based on your library’s default loan length. You can edit both dates before confirming.
4. Add condition photos (optional)
Take photos of the carrier’s condition if you like — this step is optional, and one tap skips it. Loan photos are deleted automatically 180 days after the loan closes.
5. Review any notices
Two notices may appear at this step:
- Do Not Lend notice — if the caregiver is flagged Do Not Lend, Users are blocked from completing the check-out and should contact a Library Owner. Library Owners and Org Admins can override with a reason, which is logged.
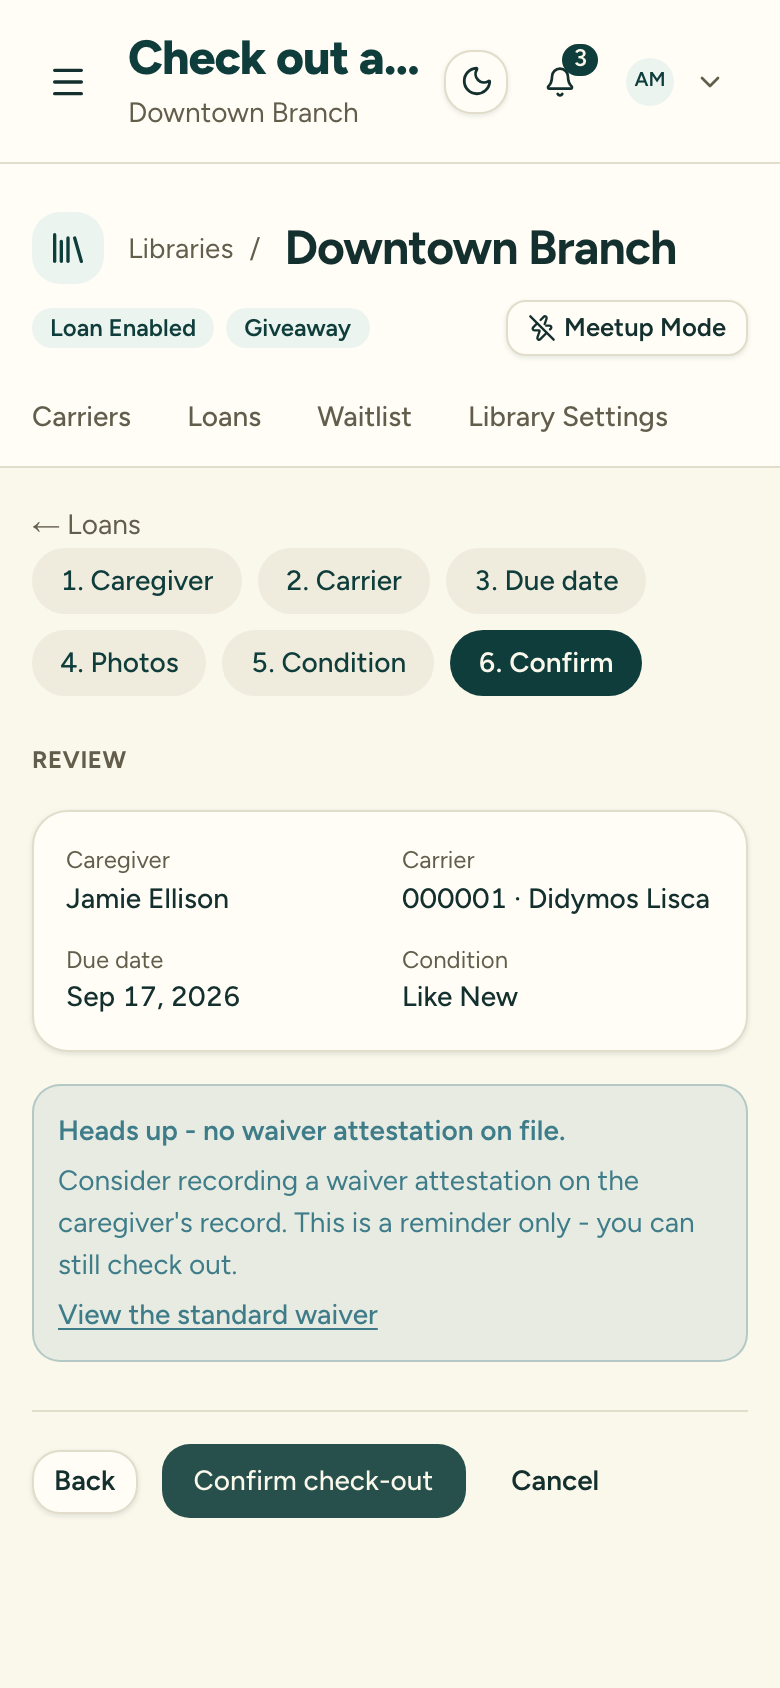
- Waiver reminder — if the caregiver has no waiver on record, you’ll see a reminder that doesn’t stop you. The check-out can still proceed.
6. Confirm the check-out
Complete the check-out. You’ll see a confirmation that the carrier is now On loan with its due date.
After check-out
The carrier’s status changes from Available to On loan. You have a 10-minute window to undo the check-out — this reverses the loan record and returns the carrier to Available.