Getting started
Carrier Stash is software for babywearing educators and volunteer-run nonprofit lending libraries. Staff and volunteers use it to manage carriers, loans, and caregivers — caregivers themselves do not have accounts.
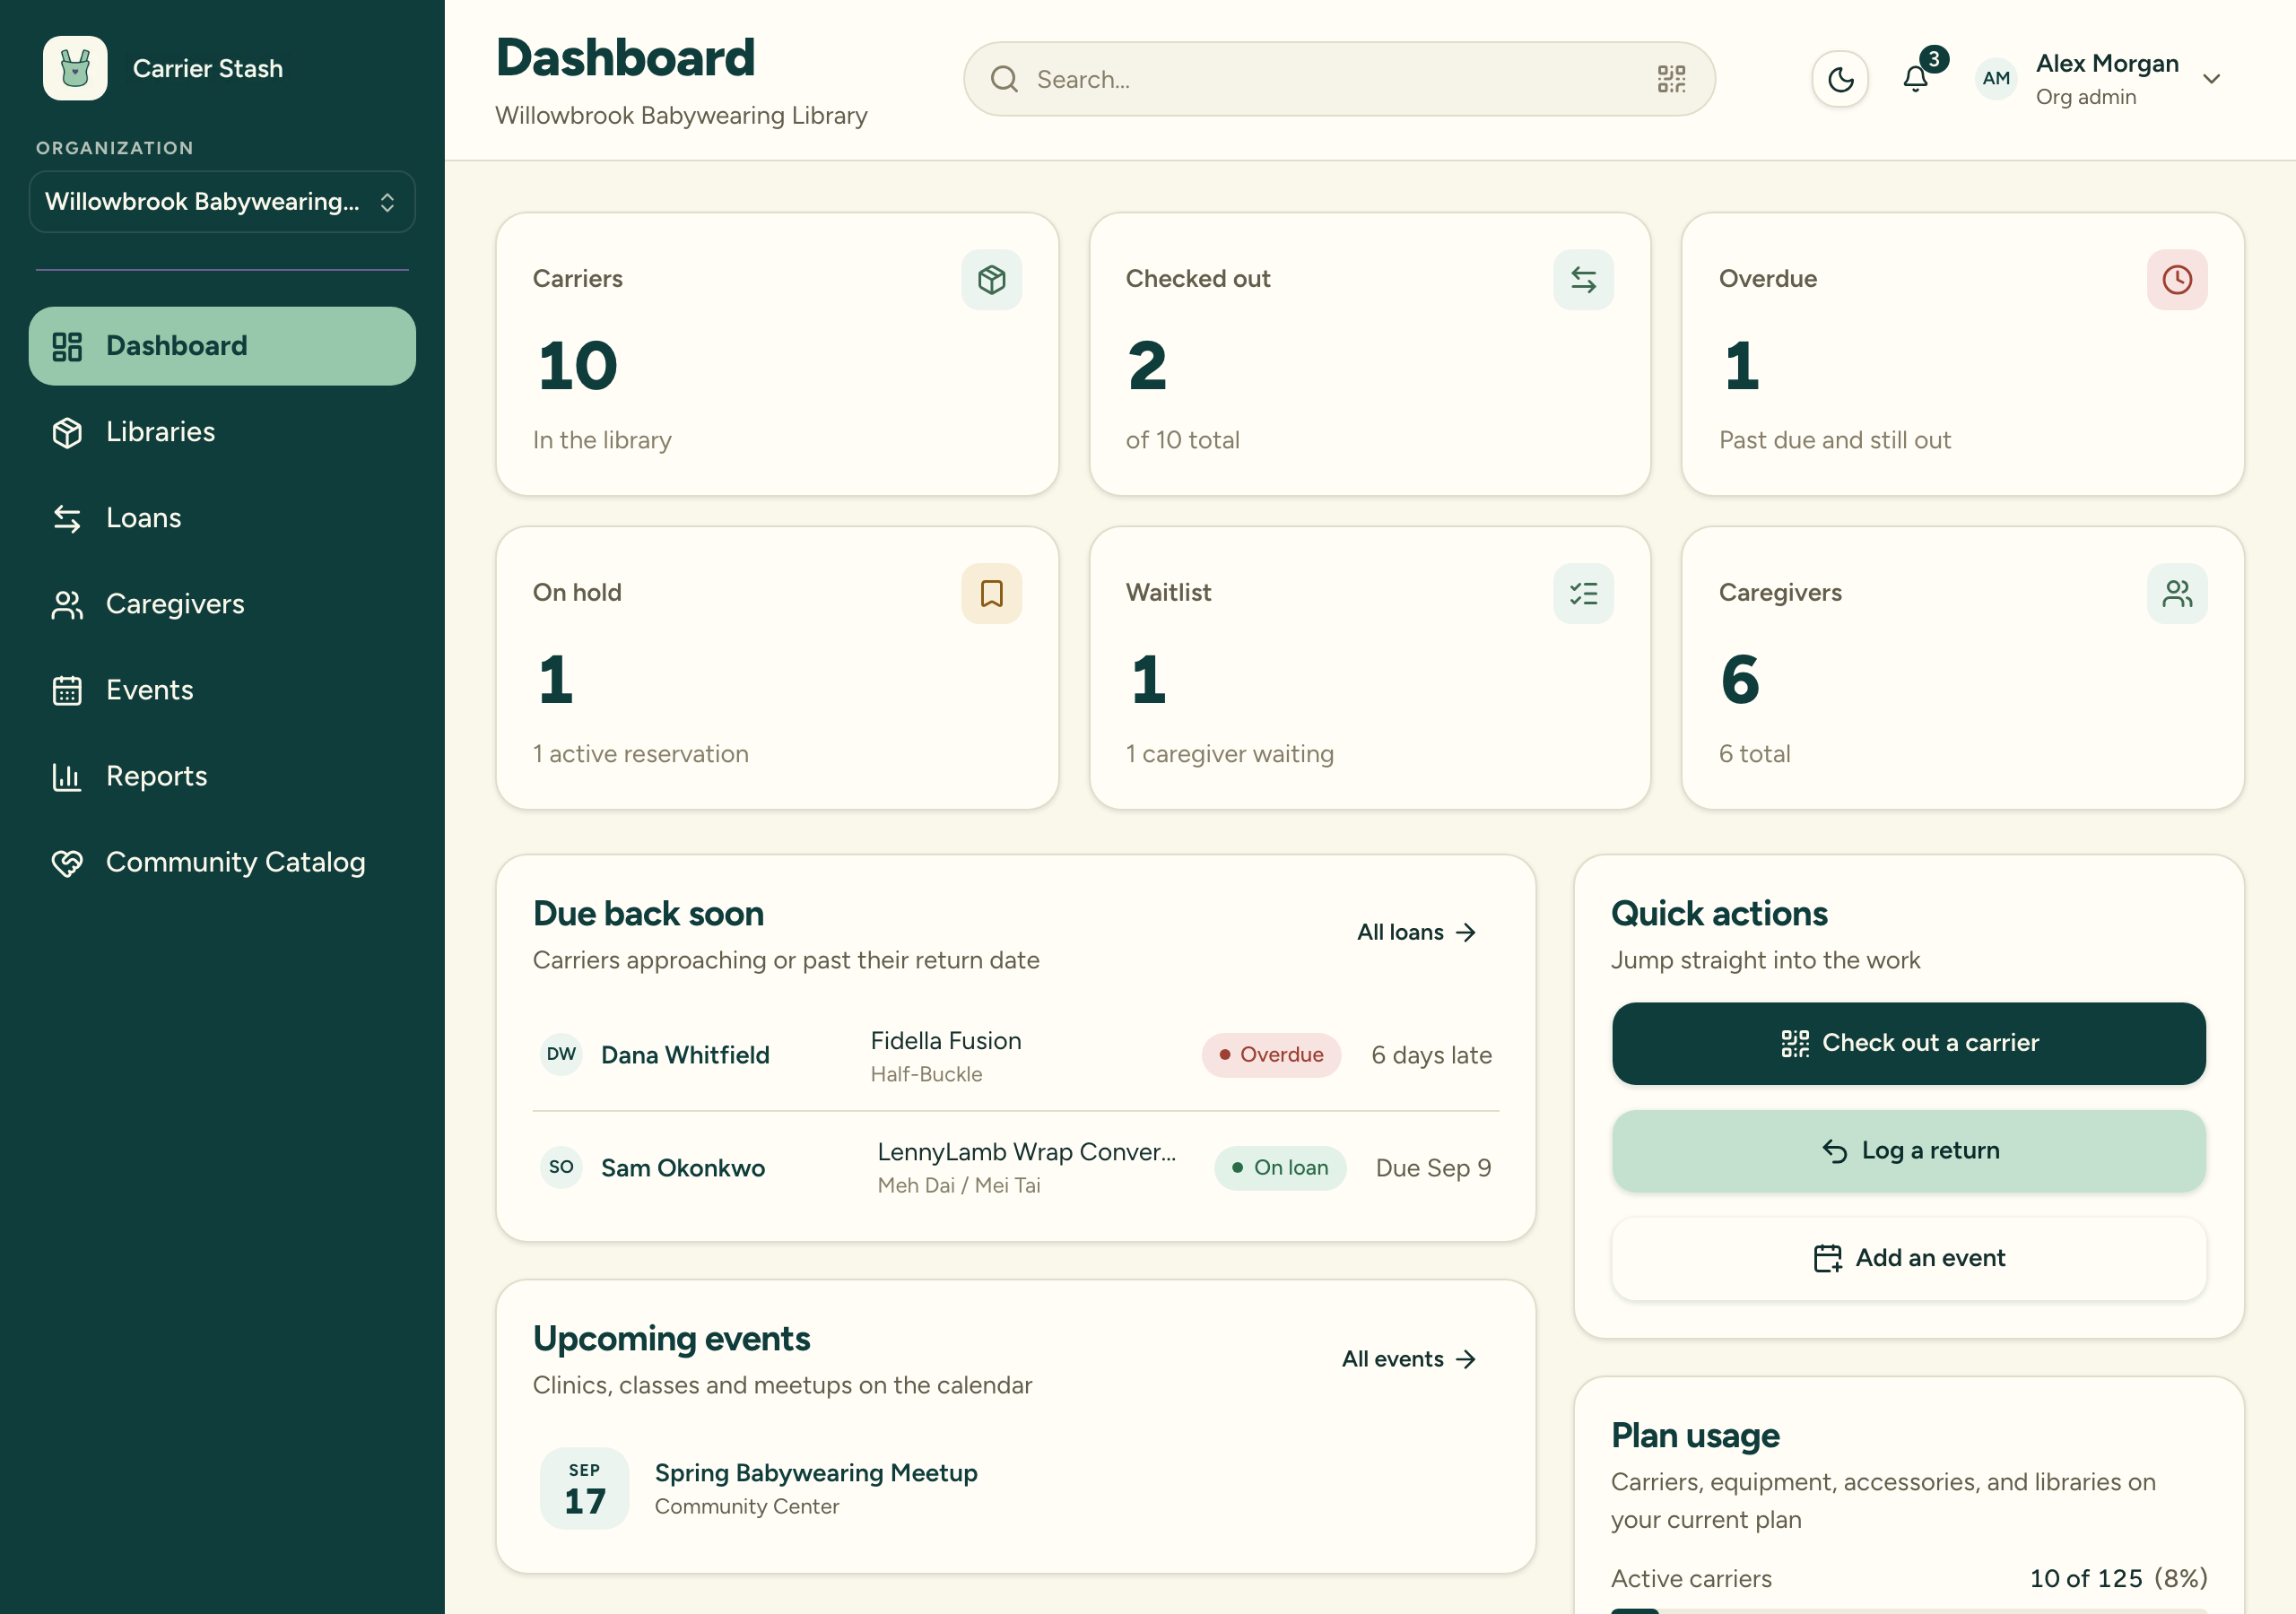
This guide walks you through the six steps to go from a blank organization to your first check-out. Here’s where you’ll end up — the dashboard of a set-up organization, showing carrier and loan counts, what’s due back, and quick actions for the everyday jobs:
1. Create your organization
The first user to sign up becomes the Org Admin and creates the organization — the top-level account that everything else lives under. Setup itself is short: name the organization, pick a plan (Free is preselected), and optionally enter a referral code. The organization’s contact email is the email of the account creating it. Org-wide defaults like the default loan period (30 days) and the access mode that controls who can see caregiver records come later, in Organization settings.
2. Set up your first library
On the Library screen, open the library switcher and choose New library. Give it a name (a description and location are optional), set a default loan length (it pre-fills to your organization’s default — leave it blank to keep inheriting that), and select which types apply: Loan-enabled, Education only, and Giveaway-enabled are not mutually exclusive. Confirm with Create library.
3. Add your first carrier
Use Add carrier on the Library screen. You’ll record the brand, model, carrier type, condition, which library it belongs to, and whether it’s loanable. Each carrier gets an ID automatically.
Coming from a spreadsheet? Bulk import carriers and caregivers from a CSV instead of adding them one by one.
4. Invite your team and assign roles
The Org Admin invites people by email. There are two levels of role: org-level (Org Admin or member) and library-level (Library Owner or User), assigned from the Users page or a library’s Users settings.
Invite your team and assign roles
5. Understand tiers and carrier limits
Your subscription tier caps how many active (non-archived) carriers and libraries you can have. If you exceed the limit — for example after a downgrade — affected areas become read-only: existing loans keep working and check-in still works, but you can’t add carriers or libraries until you’re back under the limit or upgrade.
Understand tiers and carrier limits
6. Check out your first carrier
With a carrier in your library and your team set up, you’re ready to lend. From the dashboard, the Loans screen, or an Available carrier’s page, start a check-out: pick the carrier, find or quick-create the caregiver, set the dates, and confirm. If you make a mistake, you have a 10-minute window to undo the check-out and return the carrier to Available.